When did you last get CPD?
When did you last invest in yourself?
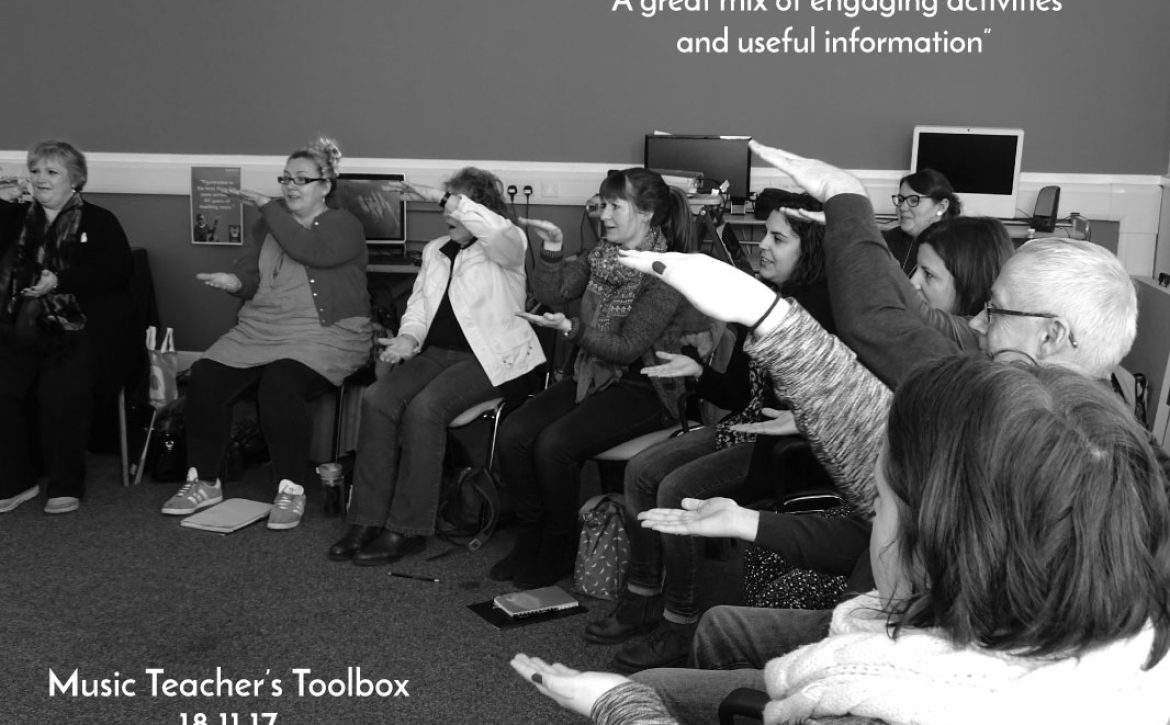
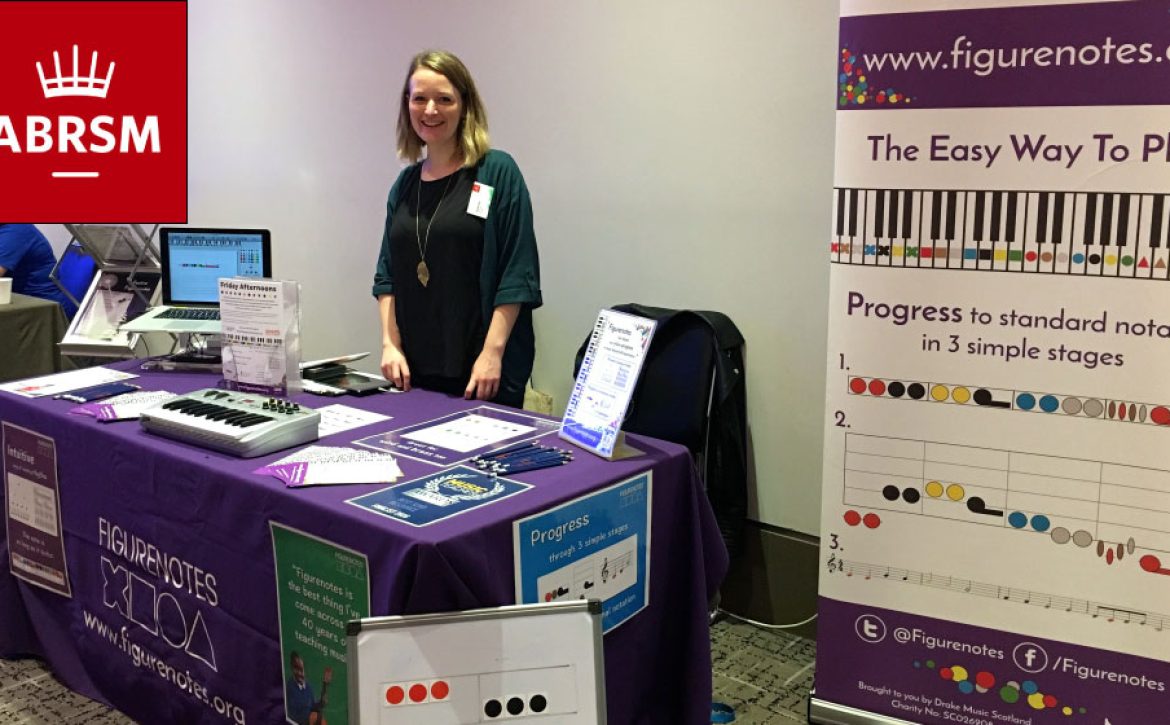
Twice a year, we run a full day of training for music educators and practitioners. At the Music Teacher’s Toolbox, we’ll give you a good grounding in how Figurenotes can support your work and help your pupils flourish. This training is always tailored to the participants, so let us know what you’d like to see on the programme. You can take part in the Facebook poll here.
Our most experienced Figurenoters keep coming back to these training days and consistently get something fresh and new, filling them with enthusiasm and energy. The mix of people attending is always a real treat. For March 24th, we already have bookings from as far afield as the Czech Republic!
“No matter how often I attend these training days there is always something new to learn, and new ideas to share and take back. Great day meeting lots of interesting people and thinking about new ways of working.”
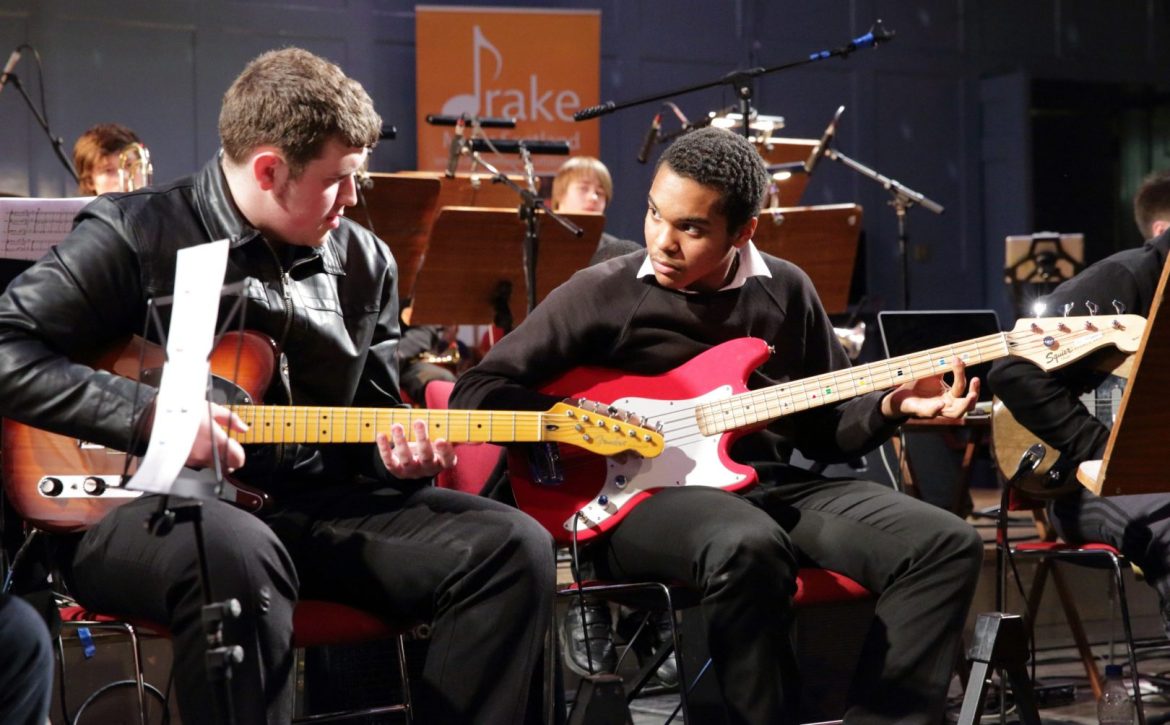
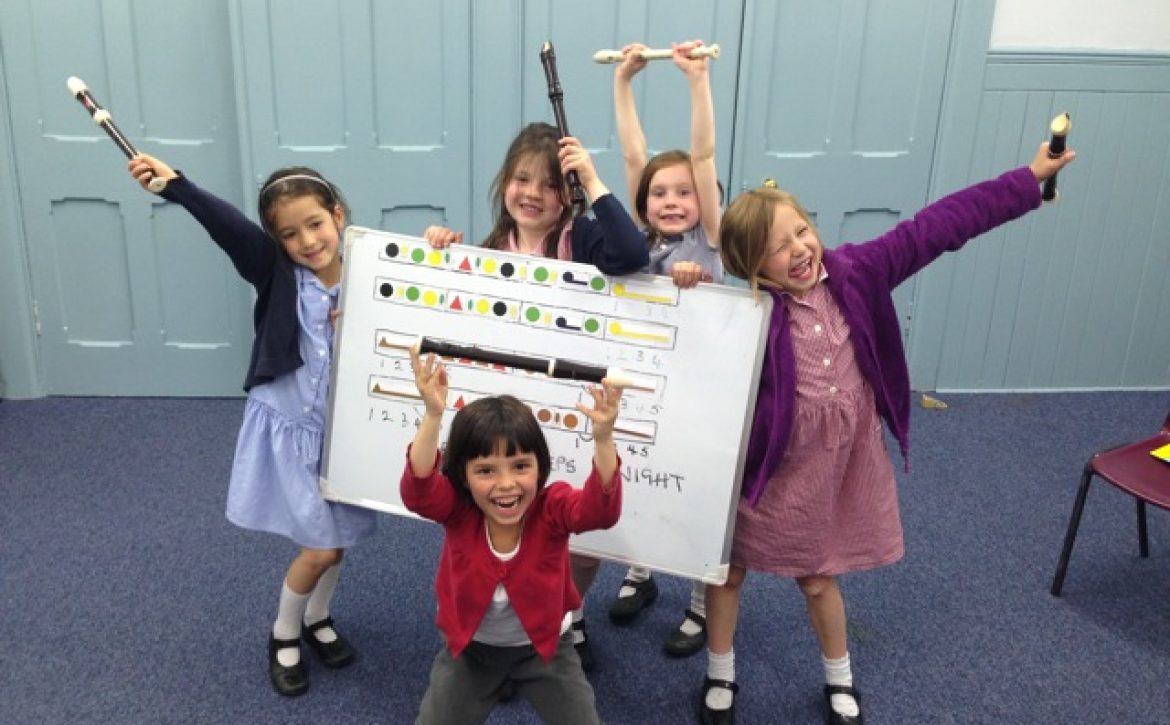
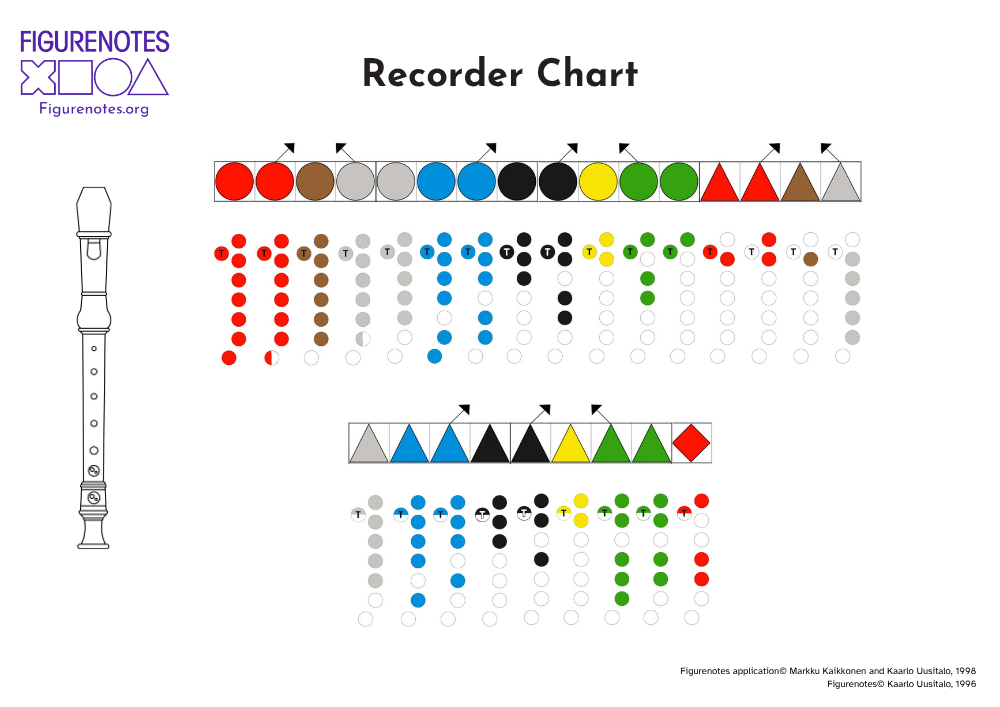
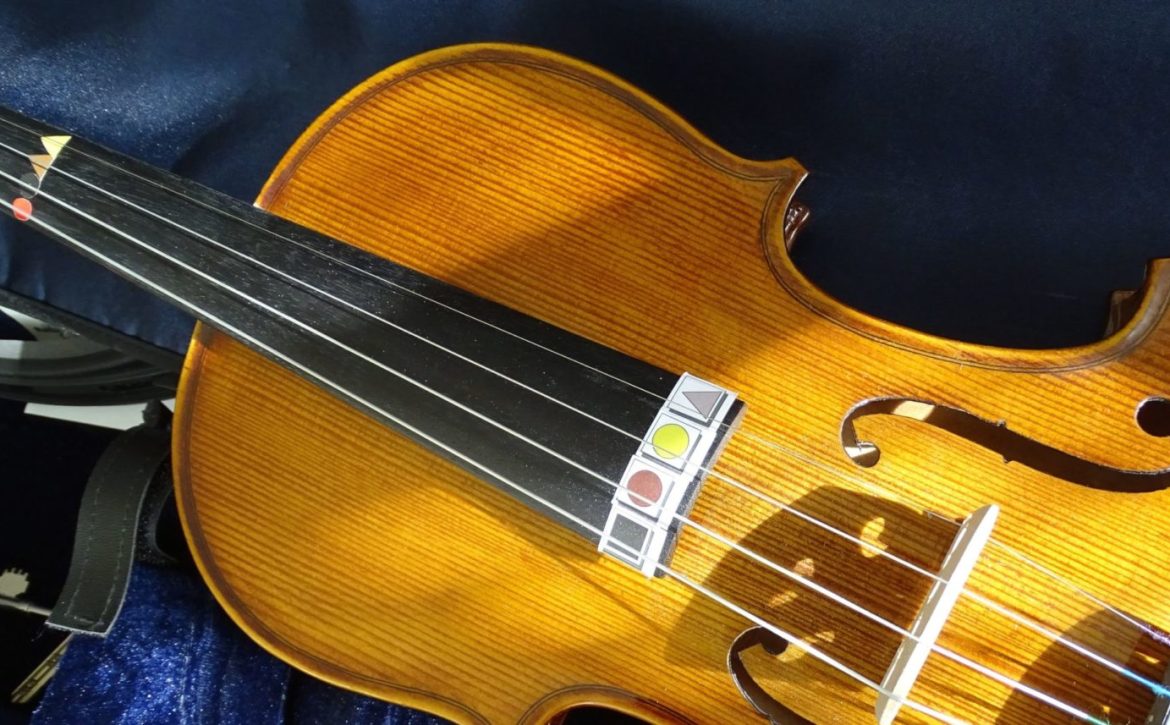
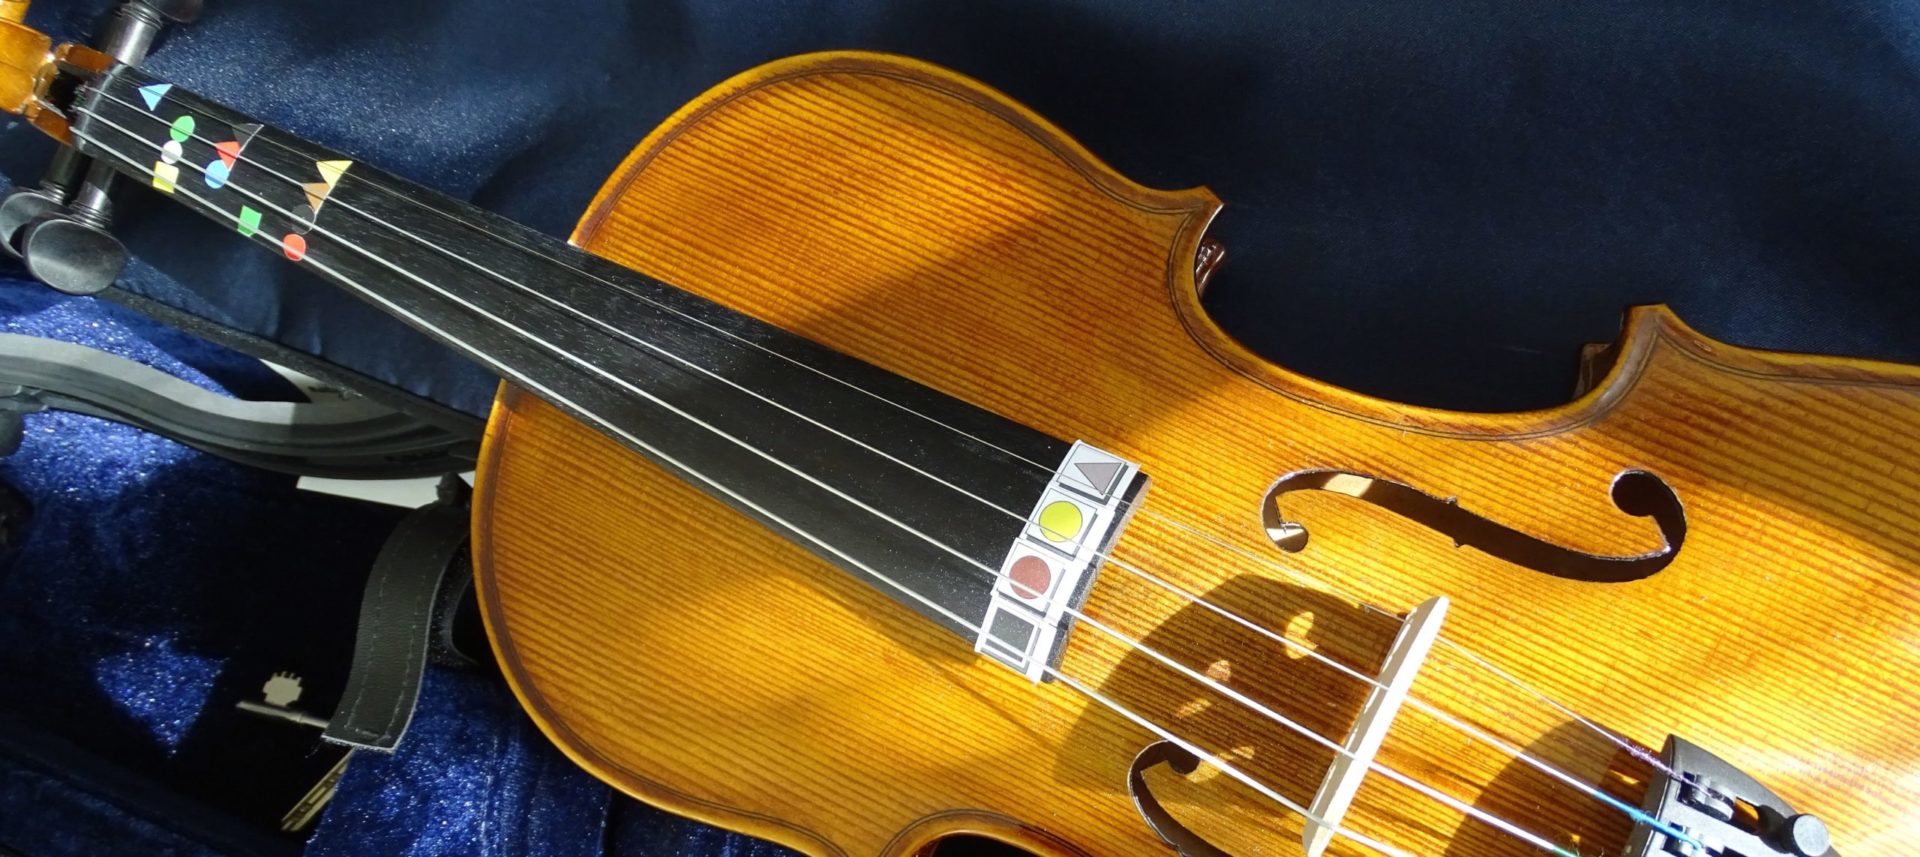
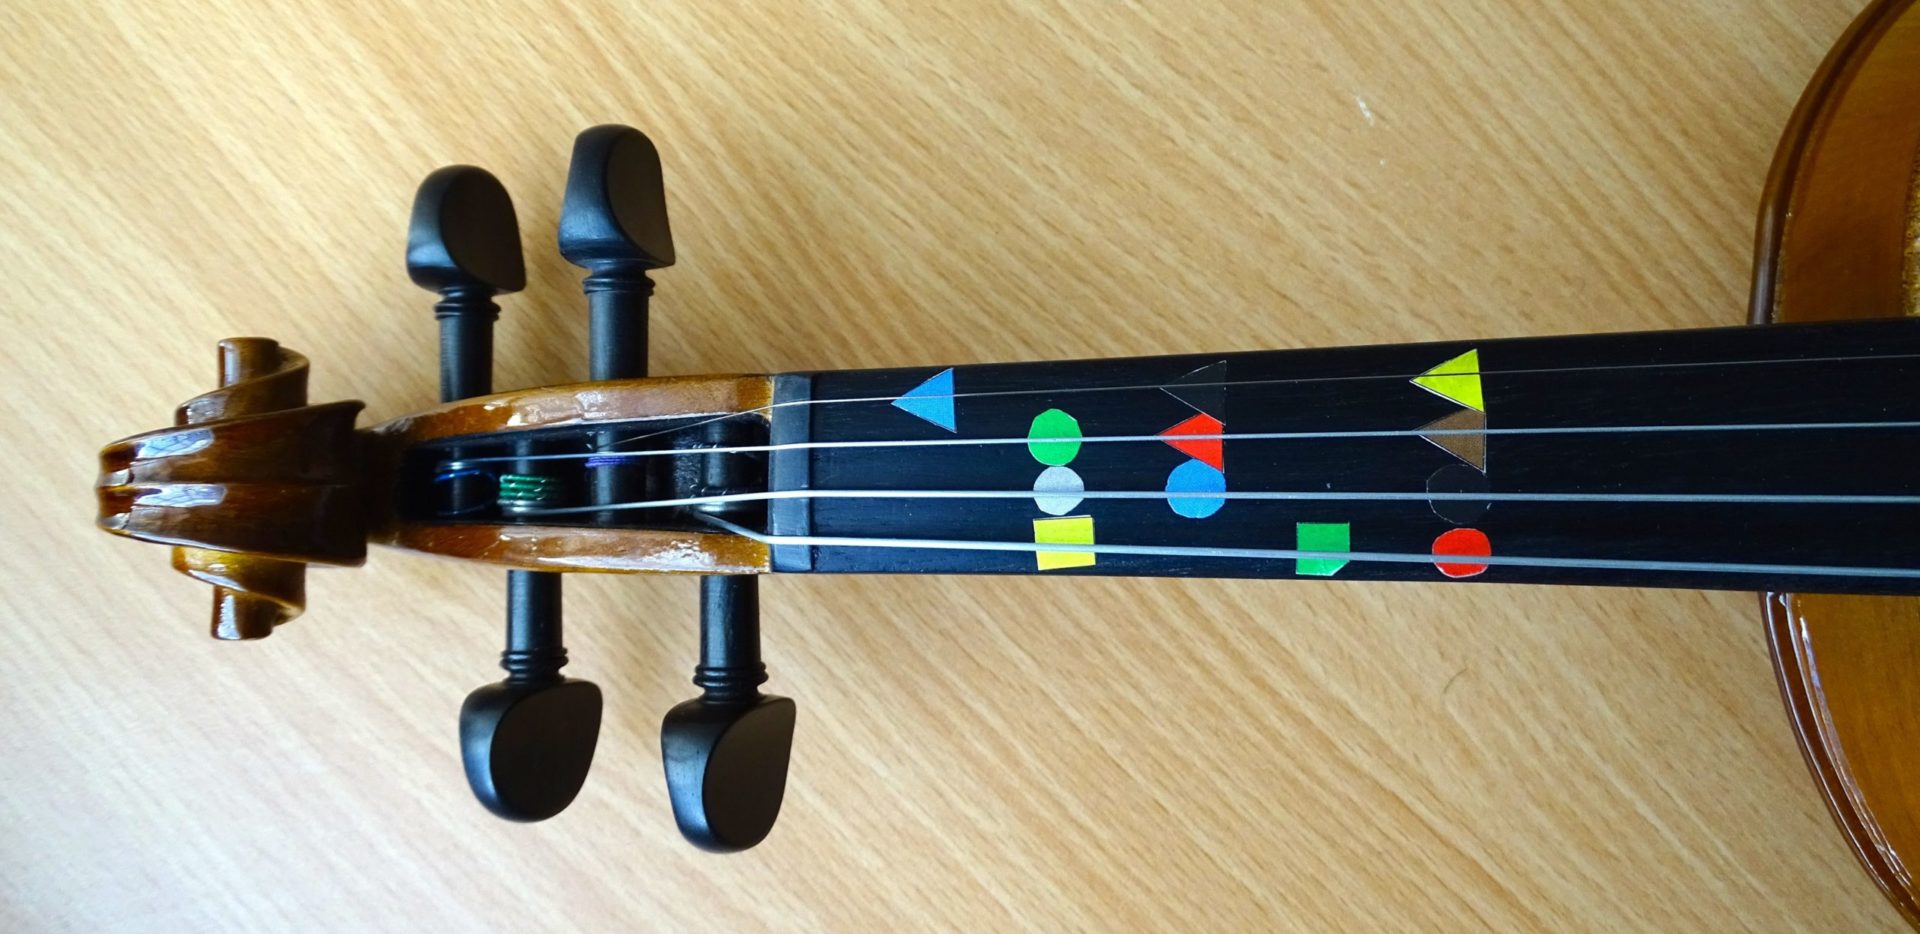
You’ll gain a better understanding of different musical approaches, helping you create a more inclusive music practice. Some participants are looking for a way to aid just one pupil with dyslexia, others want to make sure no one gets left behind or singled out in their classroom, and some just want to improve their pupils’ rhythm skills. Our aim is to give you the extra tools you need to create an inclusive learning environment in every musical scenario.
“Extremely useful. A whole new world has been opened up for my teaching practice, especially within ASN.”
Remember that one of the perks of your Resource Base subscription is a discount on your training place. Use the code RB2018 in the online shop to get your discount. If you aren’t a member yet, add the subscription to your order and you can get the discount straight away.
Next available training dates:
- Saturday, 24th March 2018. Edinburgh – Booking now open
- Saturday, 24th (TBC) November 2018, Edinburgh
Embrace the new year and book your place today.
“If only all CPD left you feeling like this!”