Keys

Untuned Percussion
Tuned Percussion

Plucked Strings
Bowed Strings
Brass
Woodwind
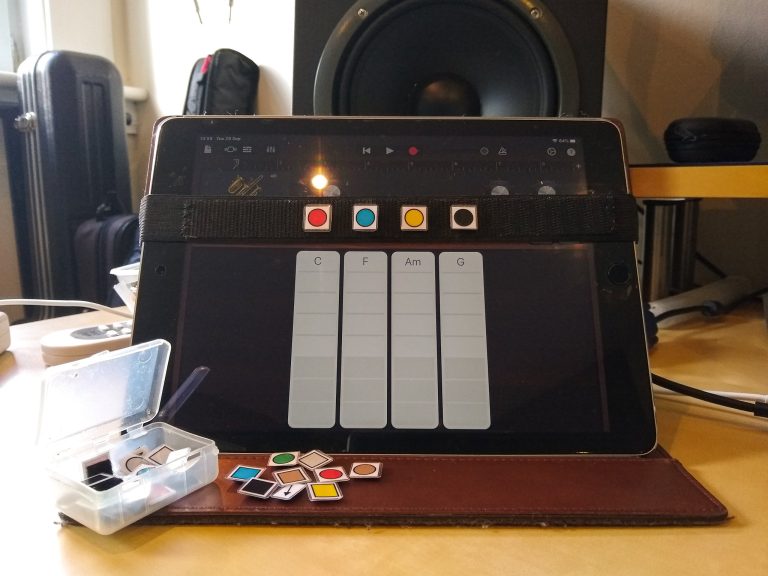
Digital Instruments
Voice

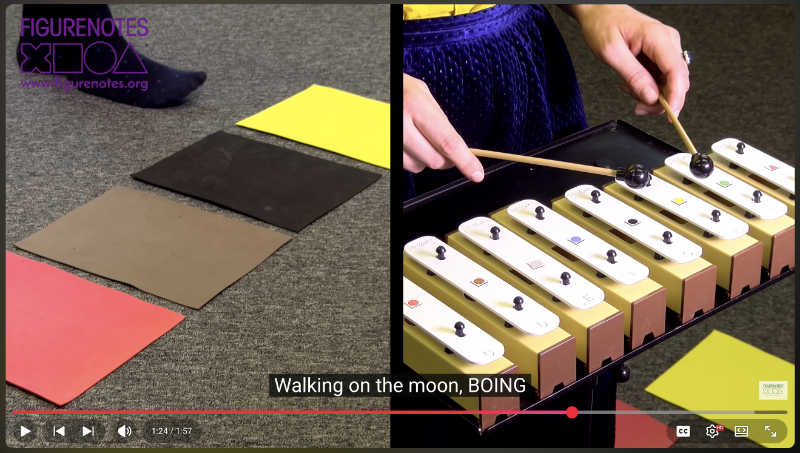
Guest Blog: But they’re the wrong colours!
Emily MacQuarrie tells us how she easily overcame the fact that the colours of tuned percussion don’t always match up...
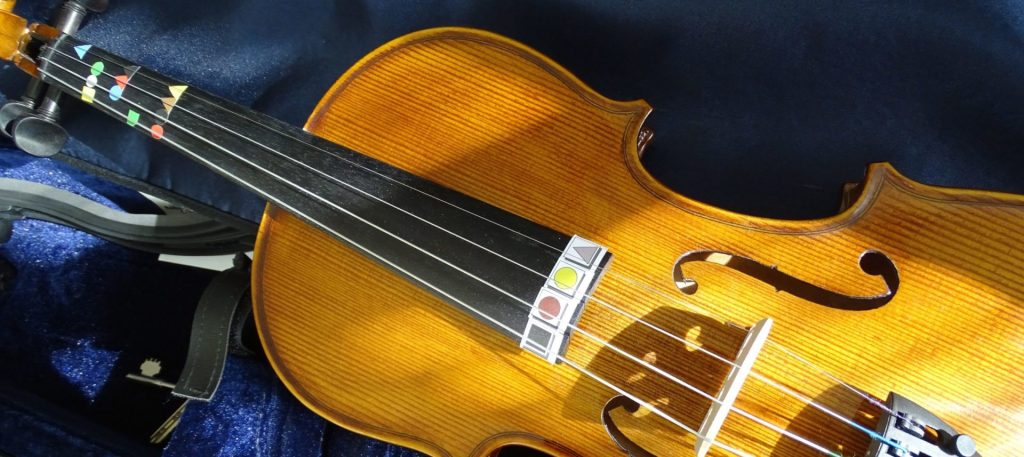
Starting with Strings
This series of blogs will focus on using Figurenotes with different instrument families. Let’s get started with strings. There was...
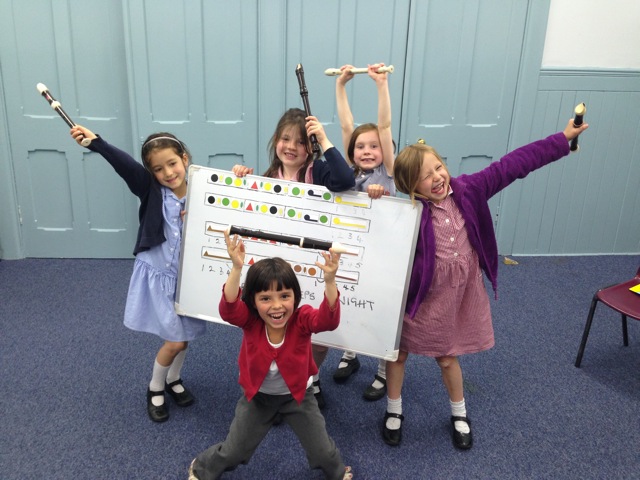
Working with Woodwind
For the second instalment of our mini-series on how to use Figurenotes with different instruments, we will focus on woodwind. In the...

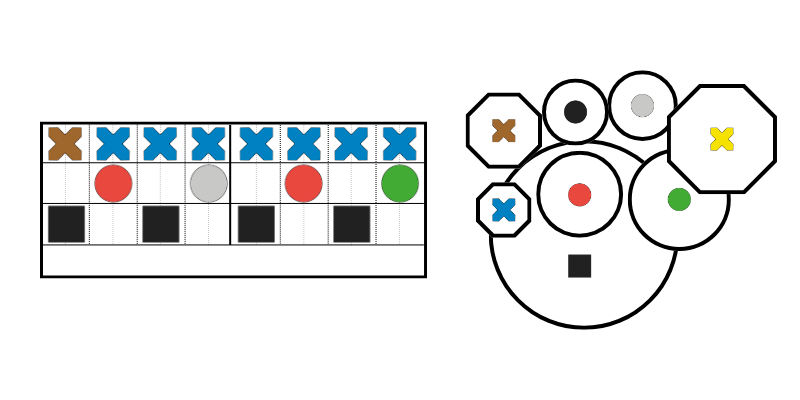
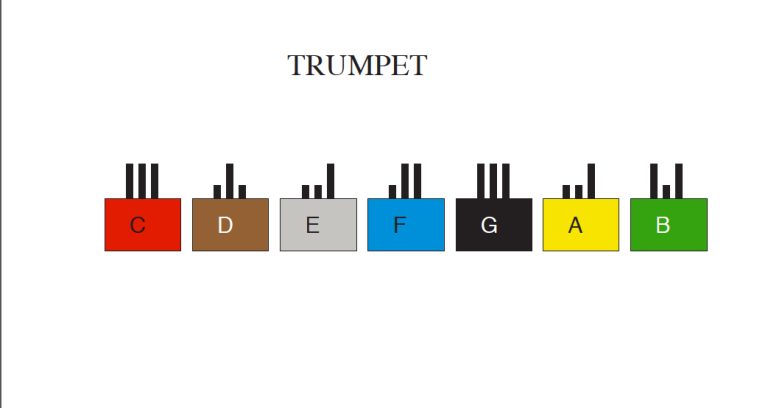
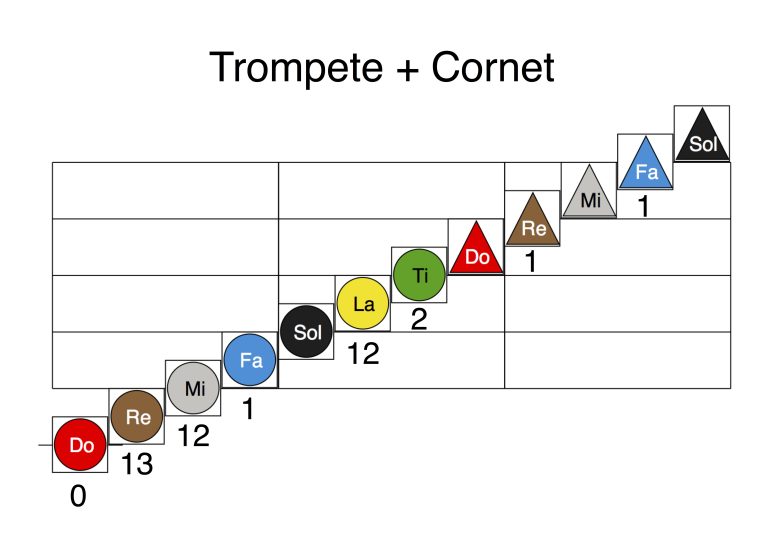
Blowing the Trumpet for Brass
This mini-series started with strings, worked with woodwind, and now we are blowing the trumpet for brass! There are Figurenoters...
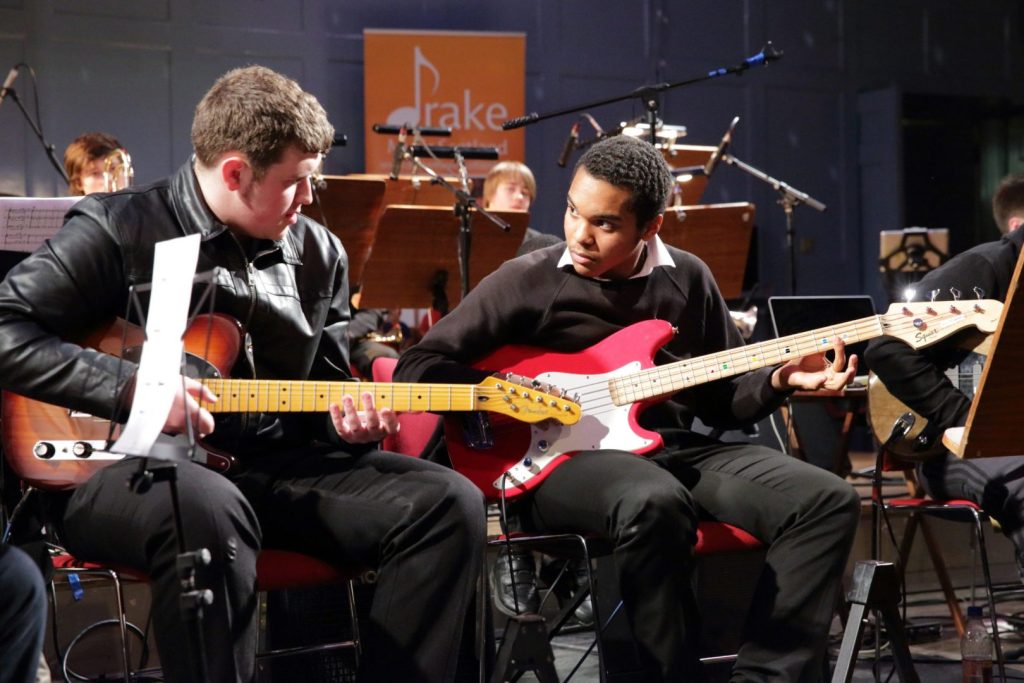
Getting to Grips with Guitars
So you want to be a rock star? Start a Figurenotes band! Beginners can start playing together very quickly. This...

Prioritising the Piano
Figurenotes is perfectly suited to the piano. By placing stickers on the white notes, we make it much easier to see...
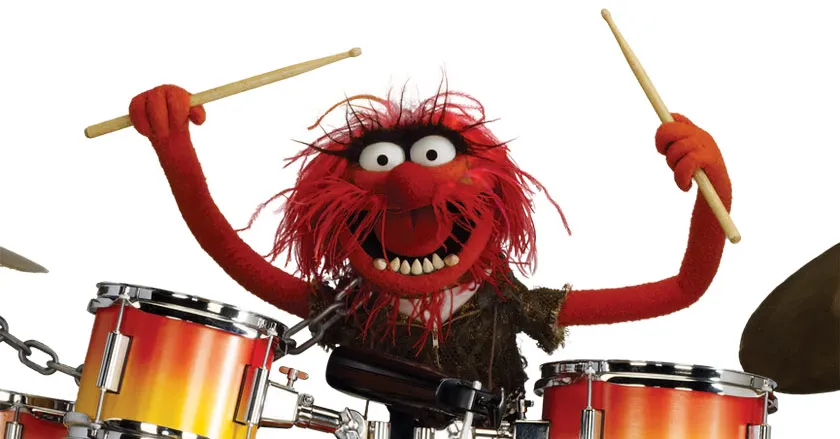
Daring to Drum
Rhythm is the heart of Figurenotes. From banging out beats on the drum kit, to beautiful marimba solos, you can...
Top Tips in New Tutorials
If you follow our Facebook page, you may have noticed our new series of video tutorials. Commissioned by The Space...
Figurenotes for Clarion
Great news for Clarion users. You can now access Figurenotes colours and patterns within the instrument. “Figurenotes is an incredible...